How to create shipments
Introduction
Our resale software enhances your business operations and customer satisfaction by simplifying the process of sending pre-owned items. It allows for creating consolidated shipping labels for multiple offers and selecting suitable package sizes, which aids in tracking deliveries and reducing shipping costs.
Creating a Shipping Label from the Admin
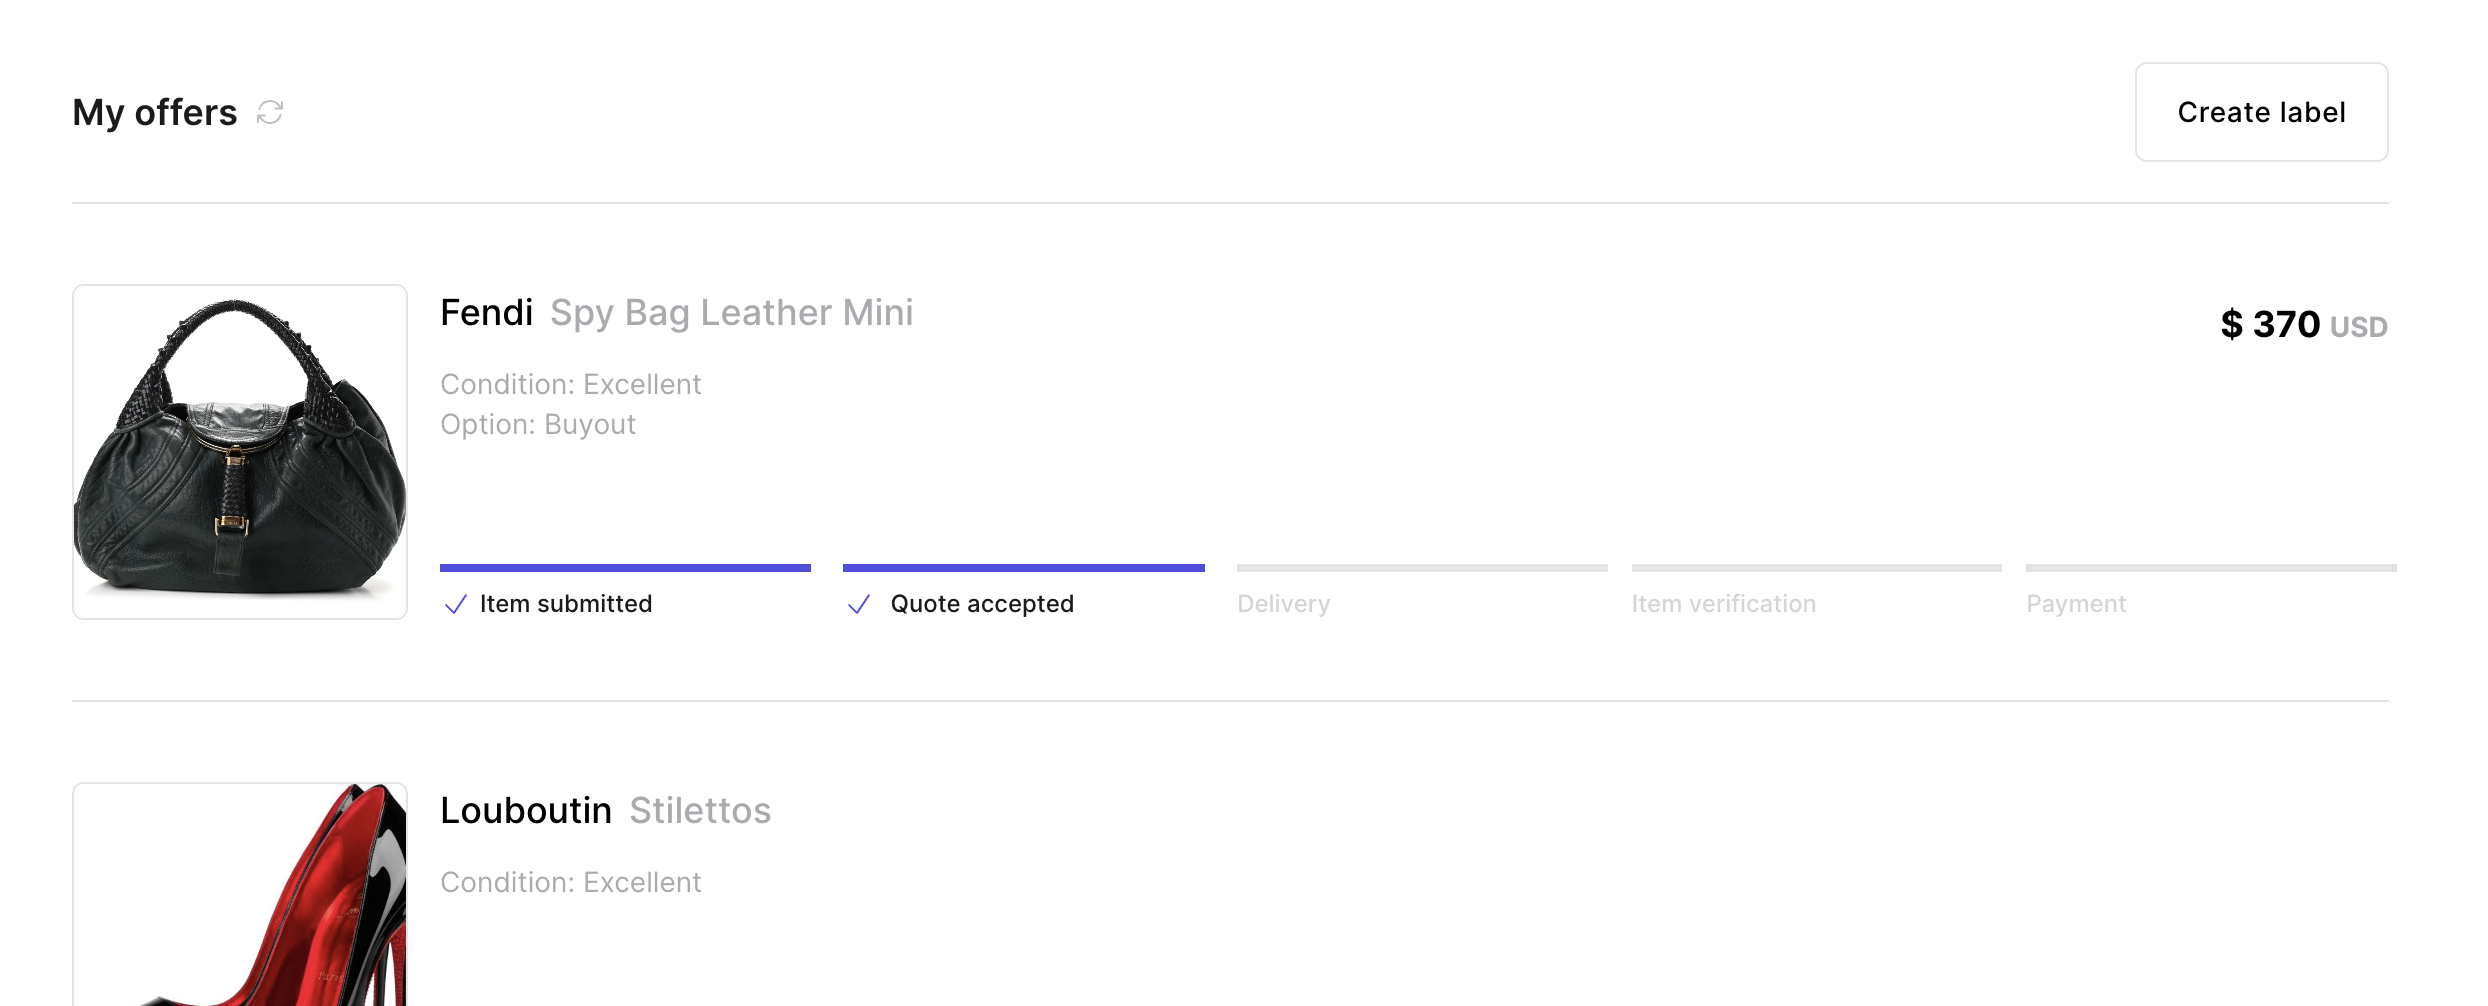
Locating the Offer
Go to the customer's offer in the admin panel that requires a shipping label.
Creating the Label
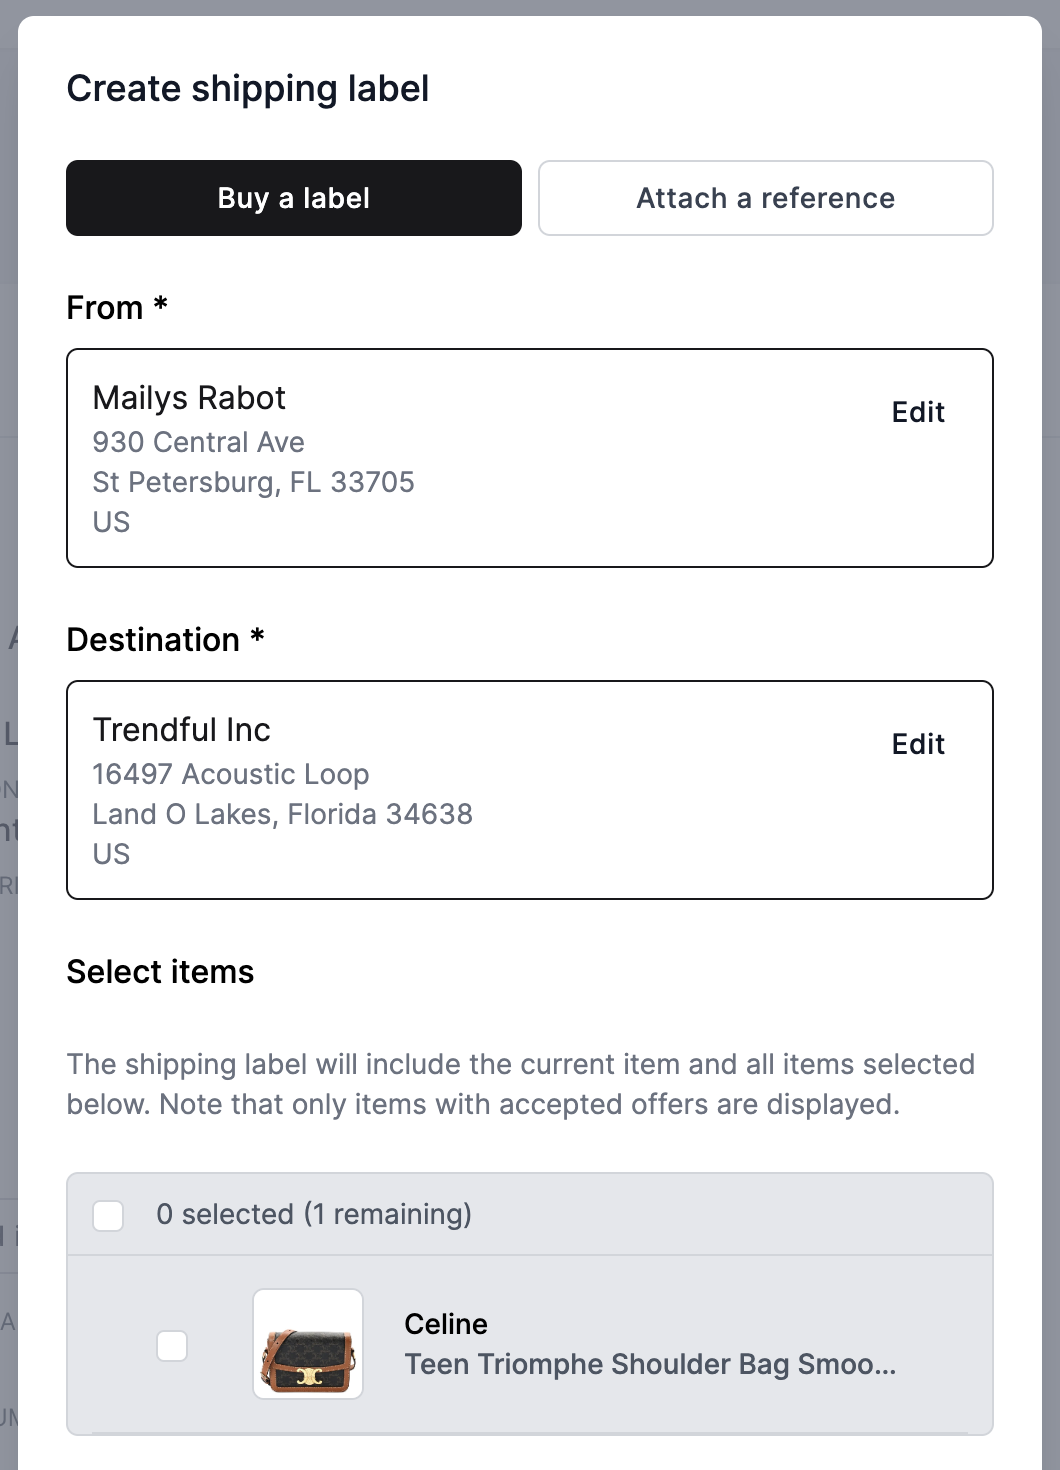
Click ‘Create label’ in the Shipping section.

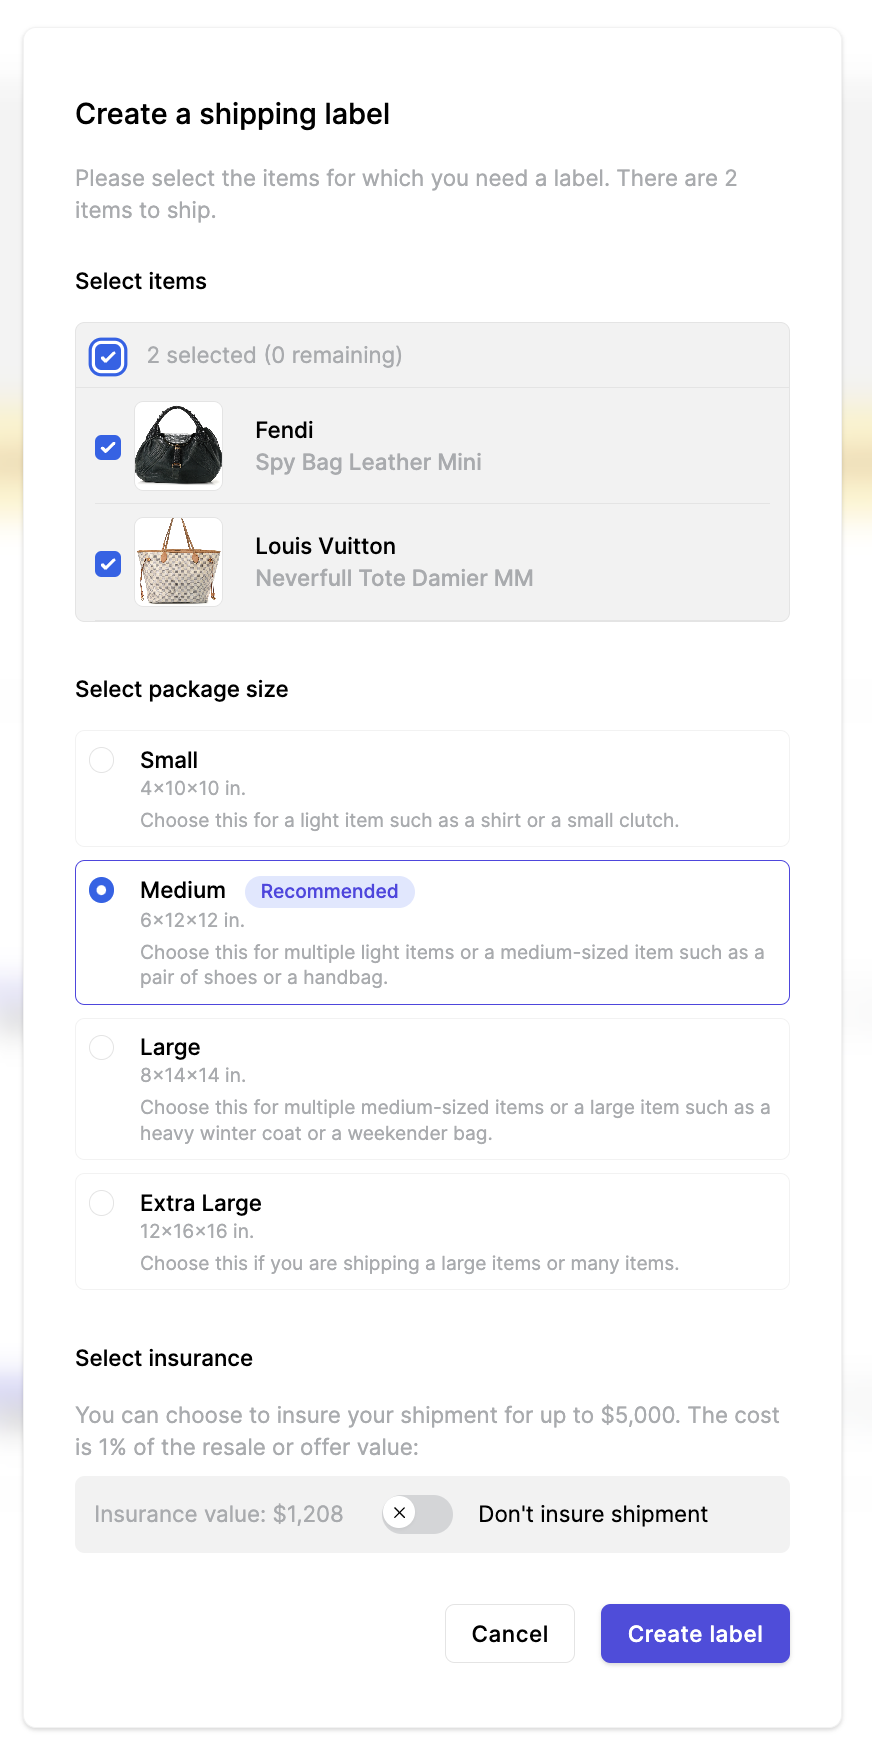
Selecting Additional Items
Add more items to the package, ensuring they are unlabelled and have accepted quotes.
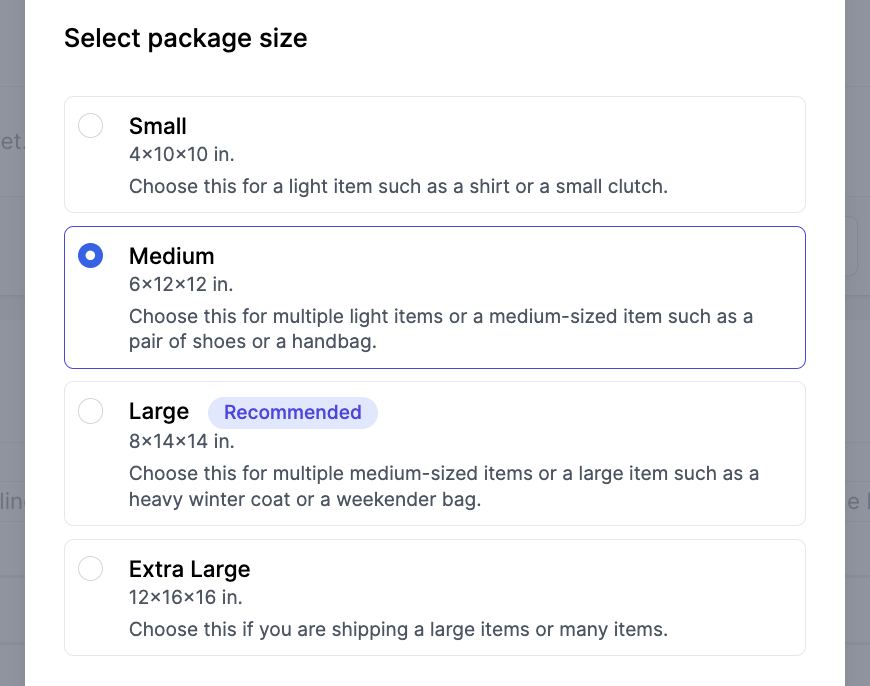
Choosing Package Size
Select from various sizes, from small for accessories to extra-large for multiple items.
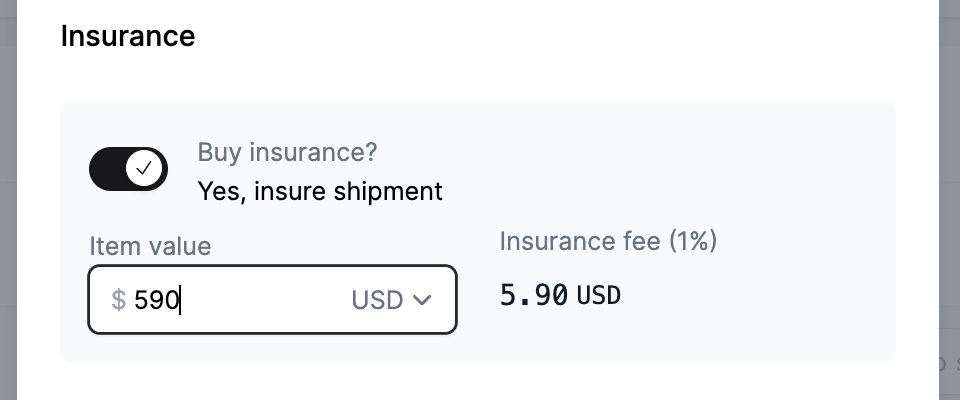
Insurance Options
Add insurance up to a $5,000 cap. For higher insurance, consider separate labels for each item.
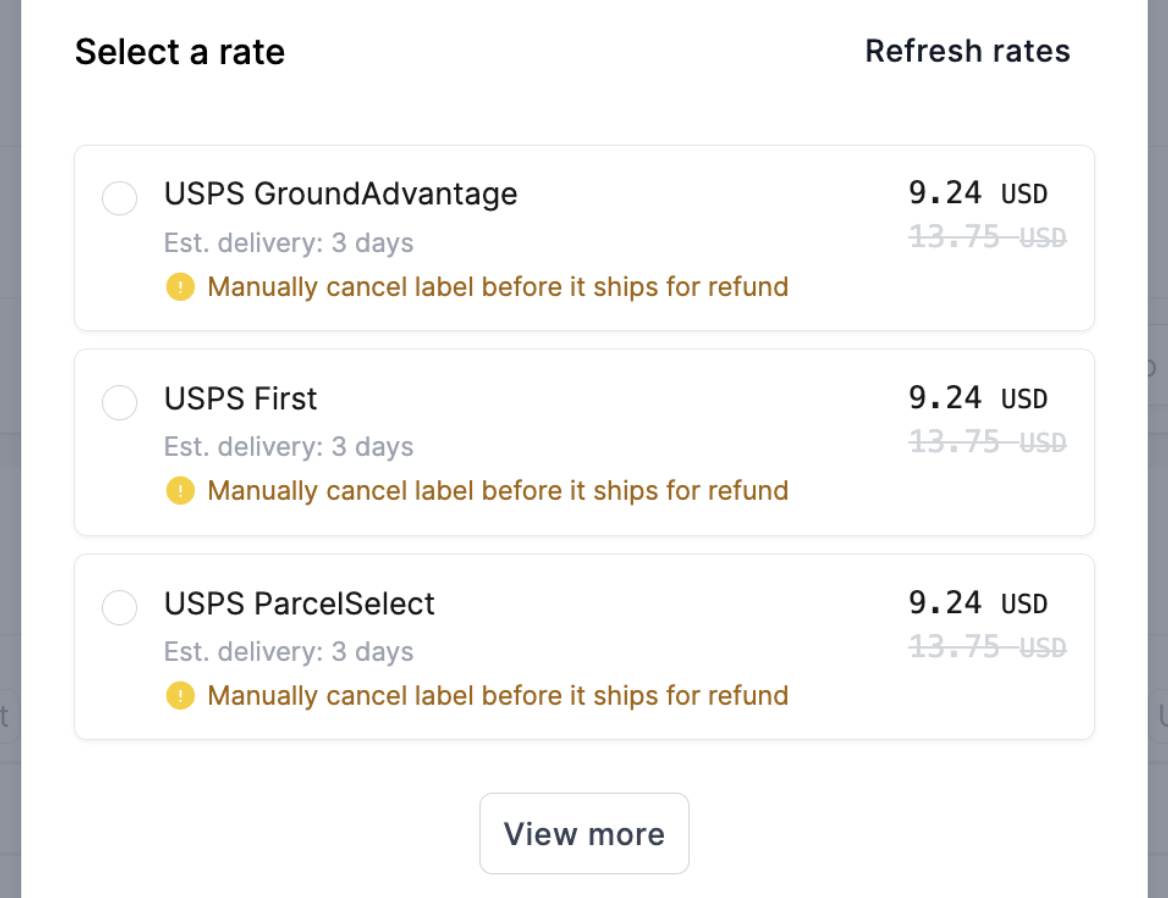
Selecting Shipping Rate
Choose a rate. Note that rates will vary slightly based on the package size. Once you are ready, click ‘Buy label’.
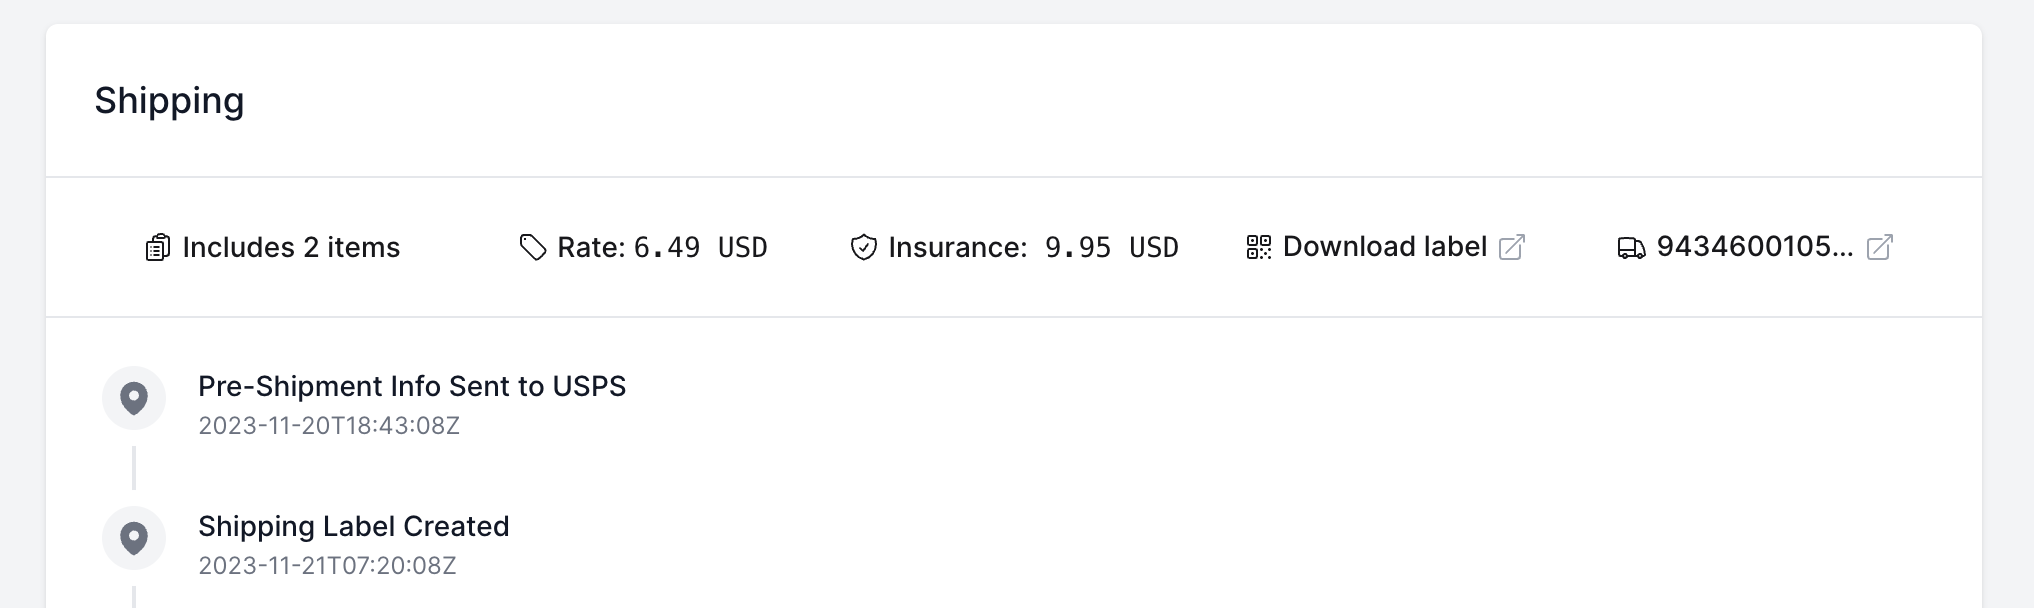
Finalizing and Sending
After creating the label, the shipping section includes shipment details and item count. The last step is to send a pre-generated email from the Shipping section by clicking on ‘Preview email’ then ‘Send email’.
Tracking information is unified for all items under one label. This means that you will see the same tracking information in the Shipping section of two items that are in the same shipment. In addition, customers receive automatic delivery notifications when the package is delivered.
Creating a Shipping Label from the Resale App
After accepting an offer, customers can create a label through their resale app account.
Item Selection
Customers choose which items to include, considering only those with accepted quotes and without existing labels.
Package Size and Insurance
They select the package size and, if enabled, opt for insurance up to $5,000.
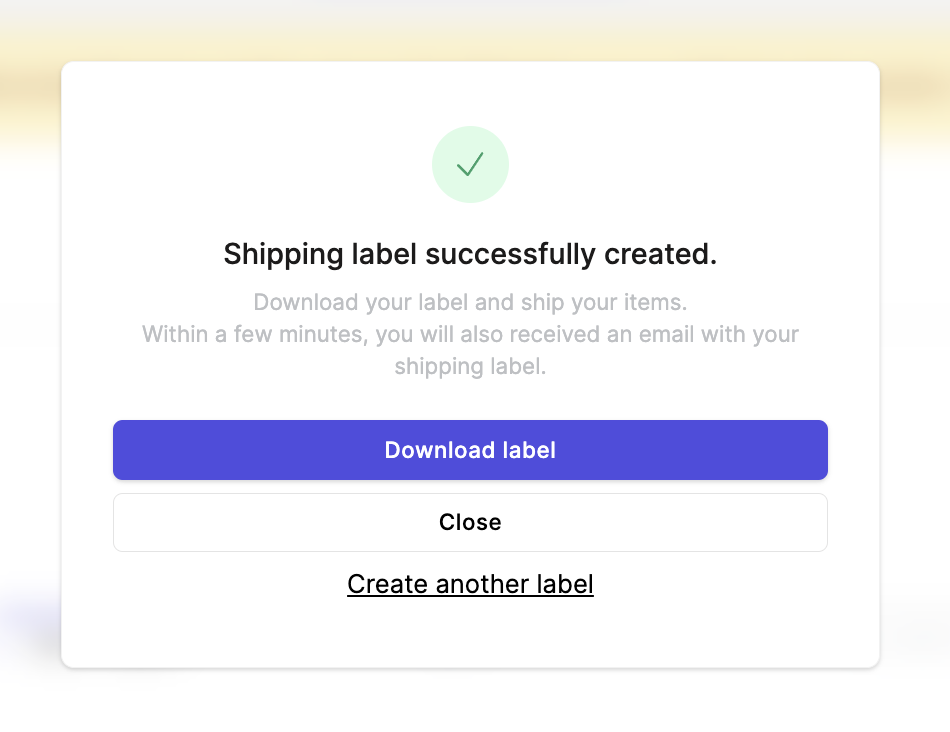
Label Generation and Receipt
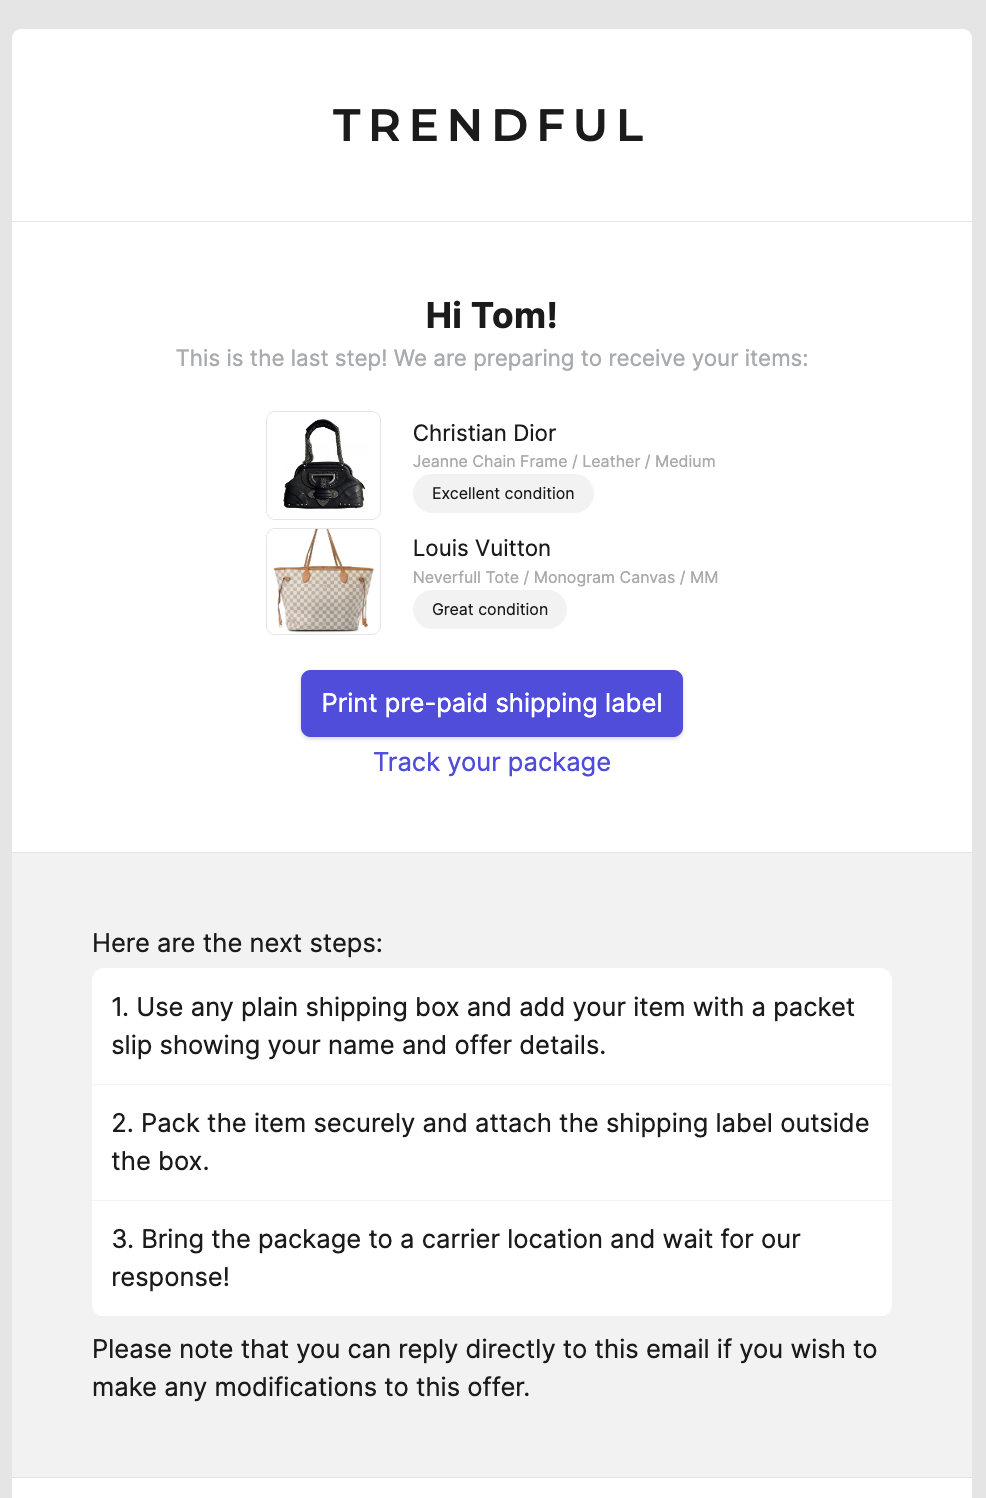
Customers download their label from the app and receive an email with packing instructions. They also get a delivery notification upon arrival.
Customizing Shipping Preferences and Instructions
Go to Settings > Preferences to tailor your shipping settings and
- Choose to enable or disable automatic shipping label creation for customers.
- Decide whether to include automatic insurance or let customers opt-in.
Note that insurance isn't automatically included when creating labels manually from the admin.
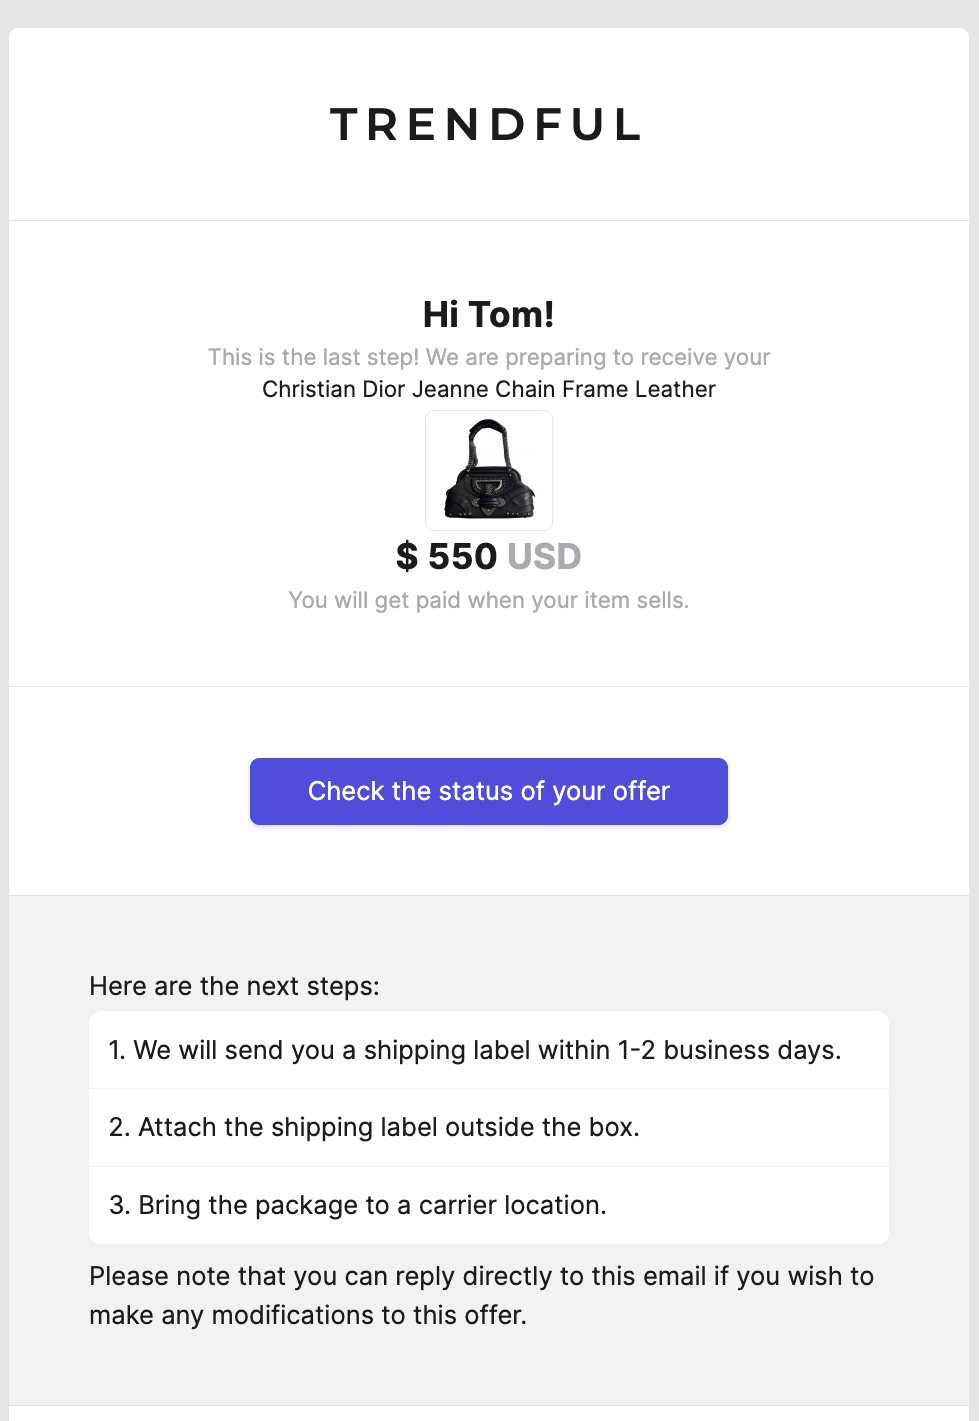
With the 2024 update, email communications have changed. Now, customers receive:
A confirmation email for each accepted offer.
A shipping label email when they create a label or receive one from the admin.
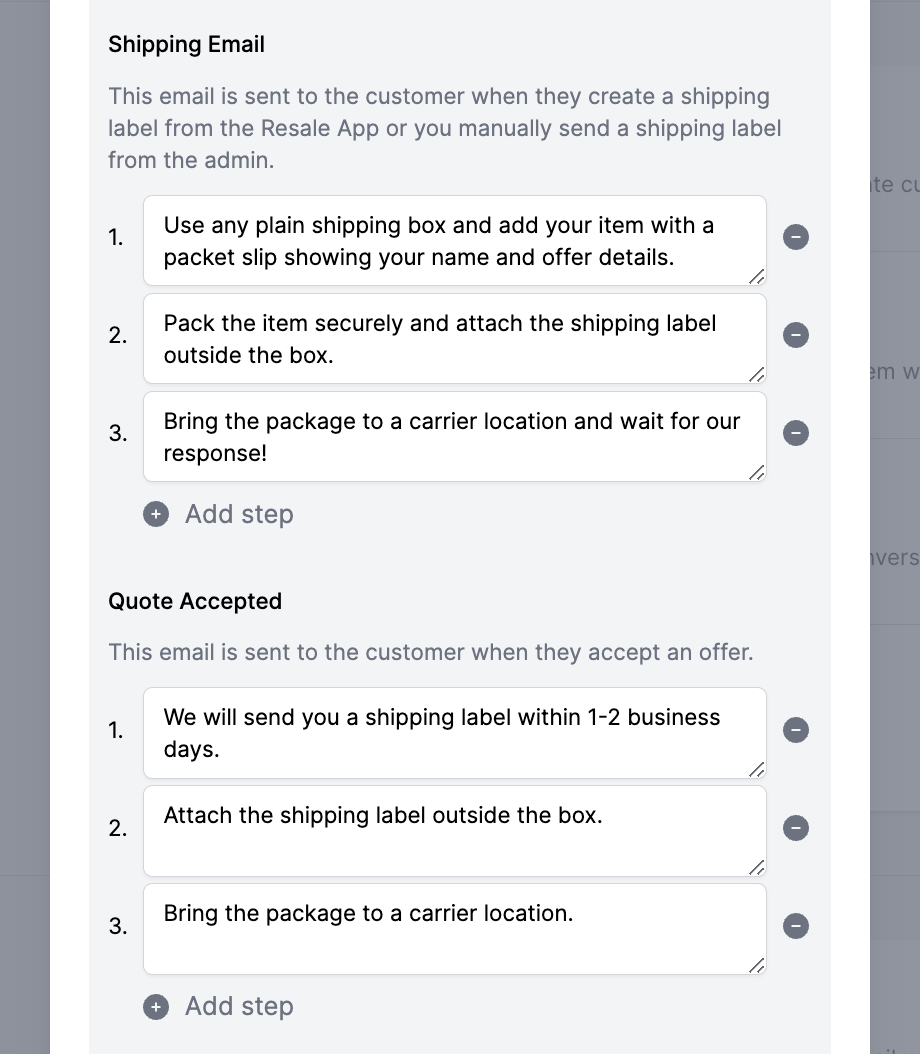
Update your email templates in Settings > Preferences under ‘Edit email verbiage’ to reflect these changes.
Conclusion
By enabling package consolidation and allowing customers to create their own labels, our software enhances the shipping process. This approach not only improves customer experience but also minimizes costs. Additionally, Trendful offers affordable insurance options for added security and trust.