How to Set Up your Trendful Admin Account
It’s time to set up your admin account! Your Resale App is currently being configured and integrated into your website based on your chosen customizations. However, during this time you can set up your admin account and begin familiarizing yourself with the different tools and features created to optimize your resale business!
This startup guide outlines the most important tasks to get your Trendful Admin set up and running so you can begin growing your resale business!
How to create your Trendful Admin account?
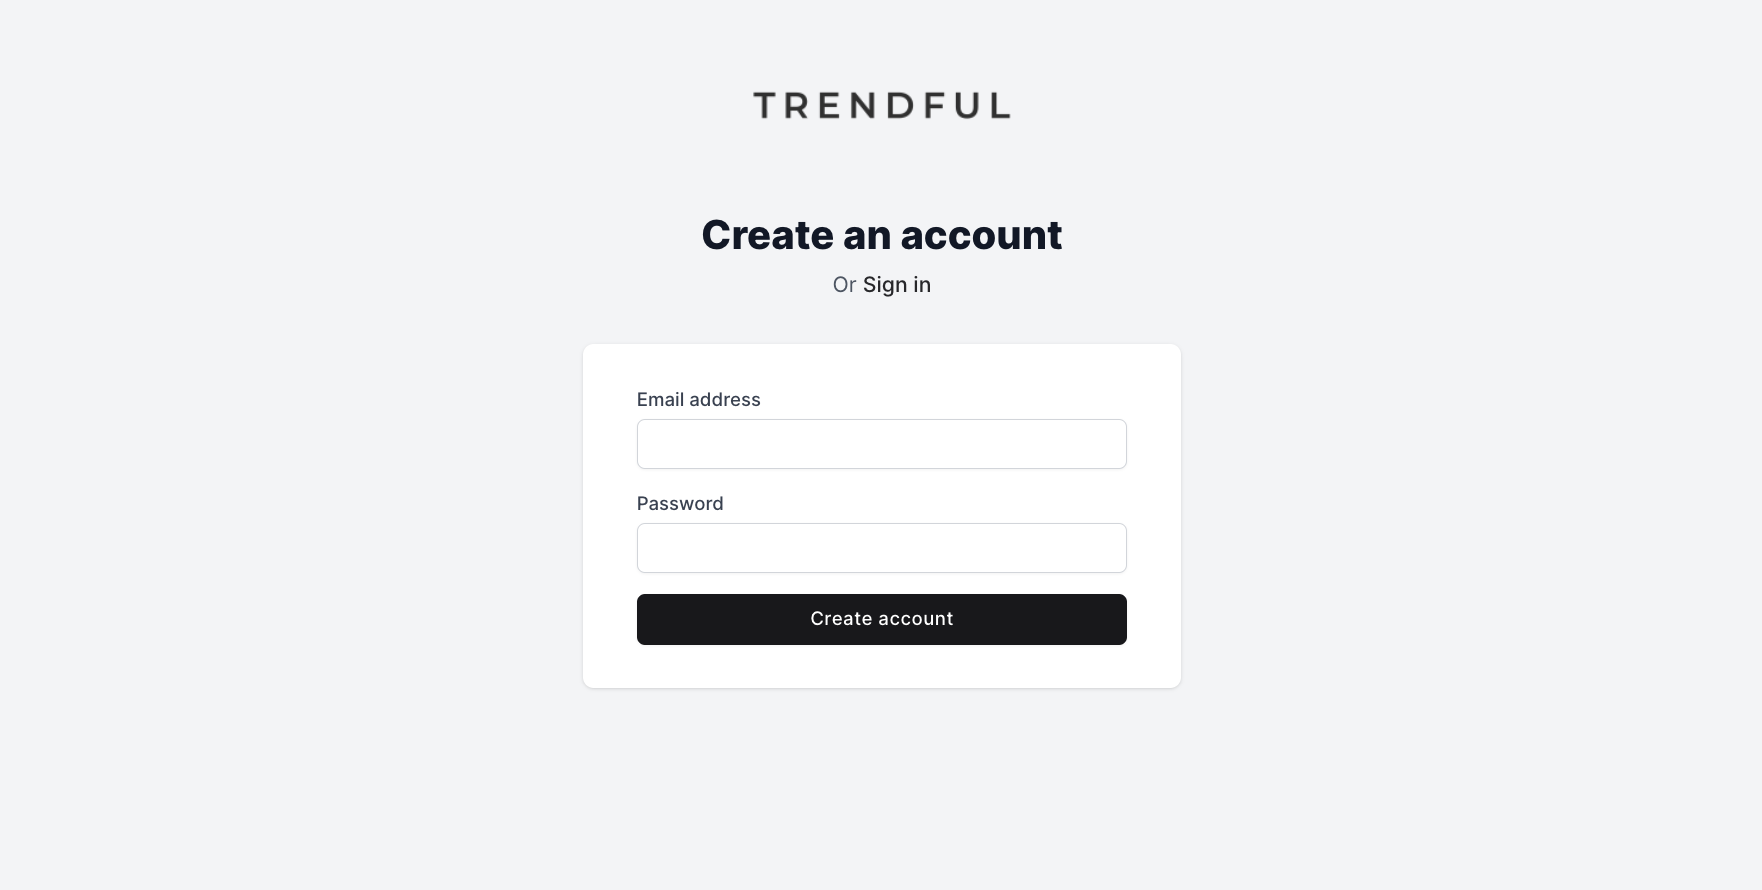
To create your Trendful Admin account, you will receive a link inviting you to create your admin account from a Trendful representative. We will send you the link to create your account during the two-week integration period of your Resale App.
Simply follow the link and create your account with your preferred email address and password.
 You can always change your password in the future.
Now that you have successfully created your Trendful Admin account there are some important tasks you should set up in your account to get you up and running!
Key tasks to help you get started
To get started click “Settings” on the bottom lefthand corner of your admin account.
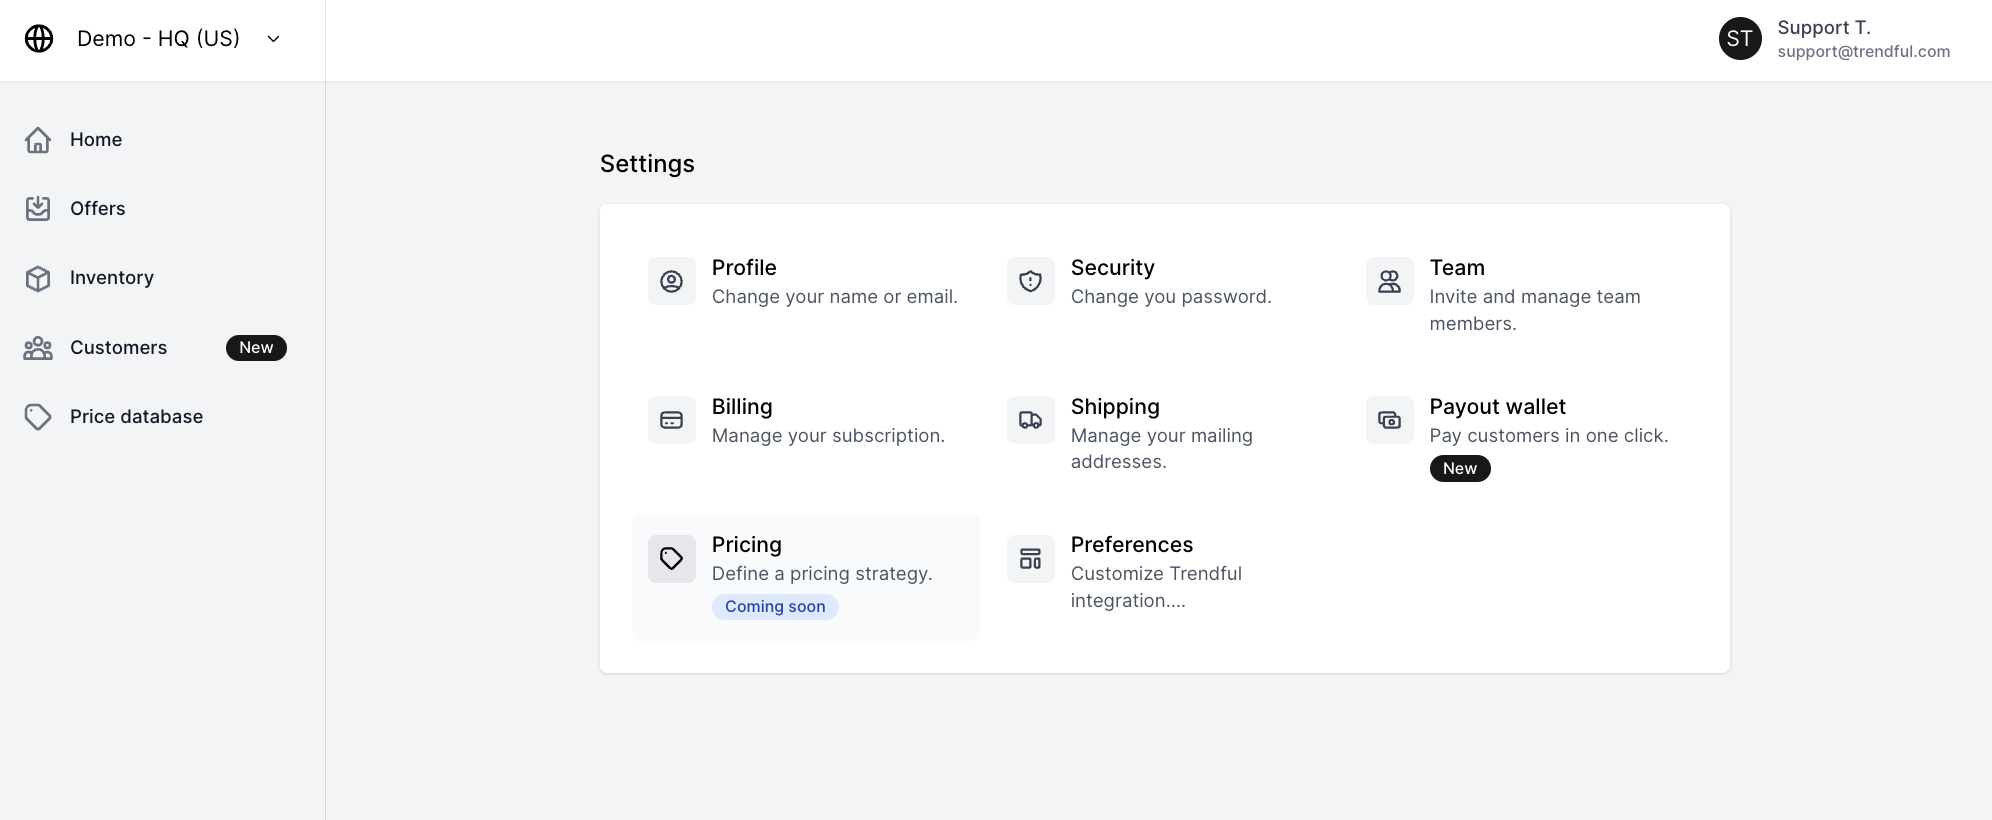 You are now in your settings section of your admin account, here there are several key areas that you should set up in order to get you up and running Trendful’s resale software.
Setting up your profile
One of the first areas you should set up is your Profile!
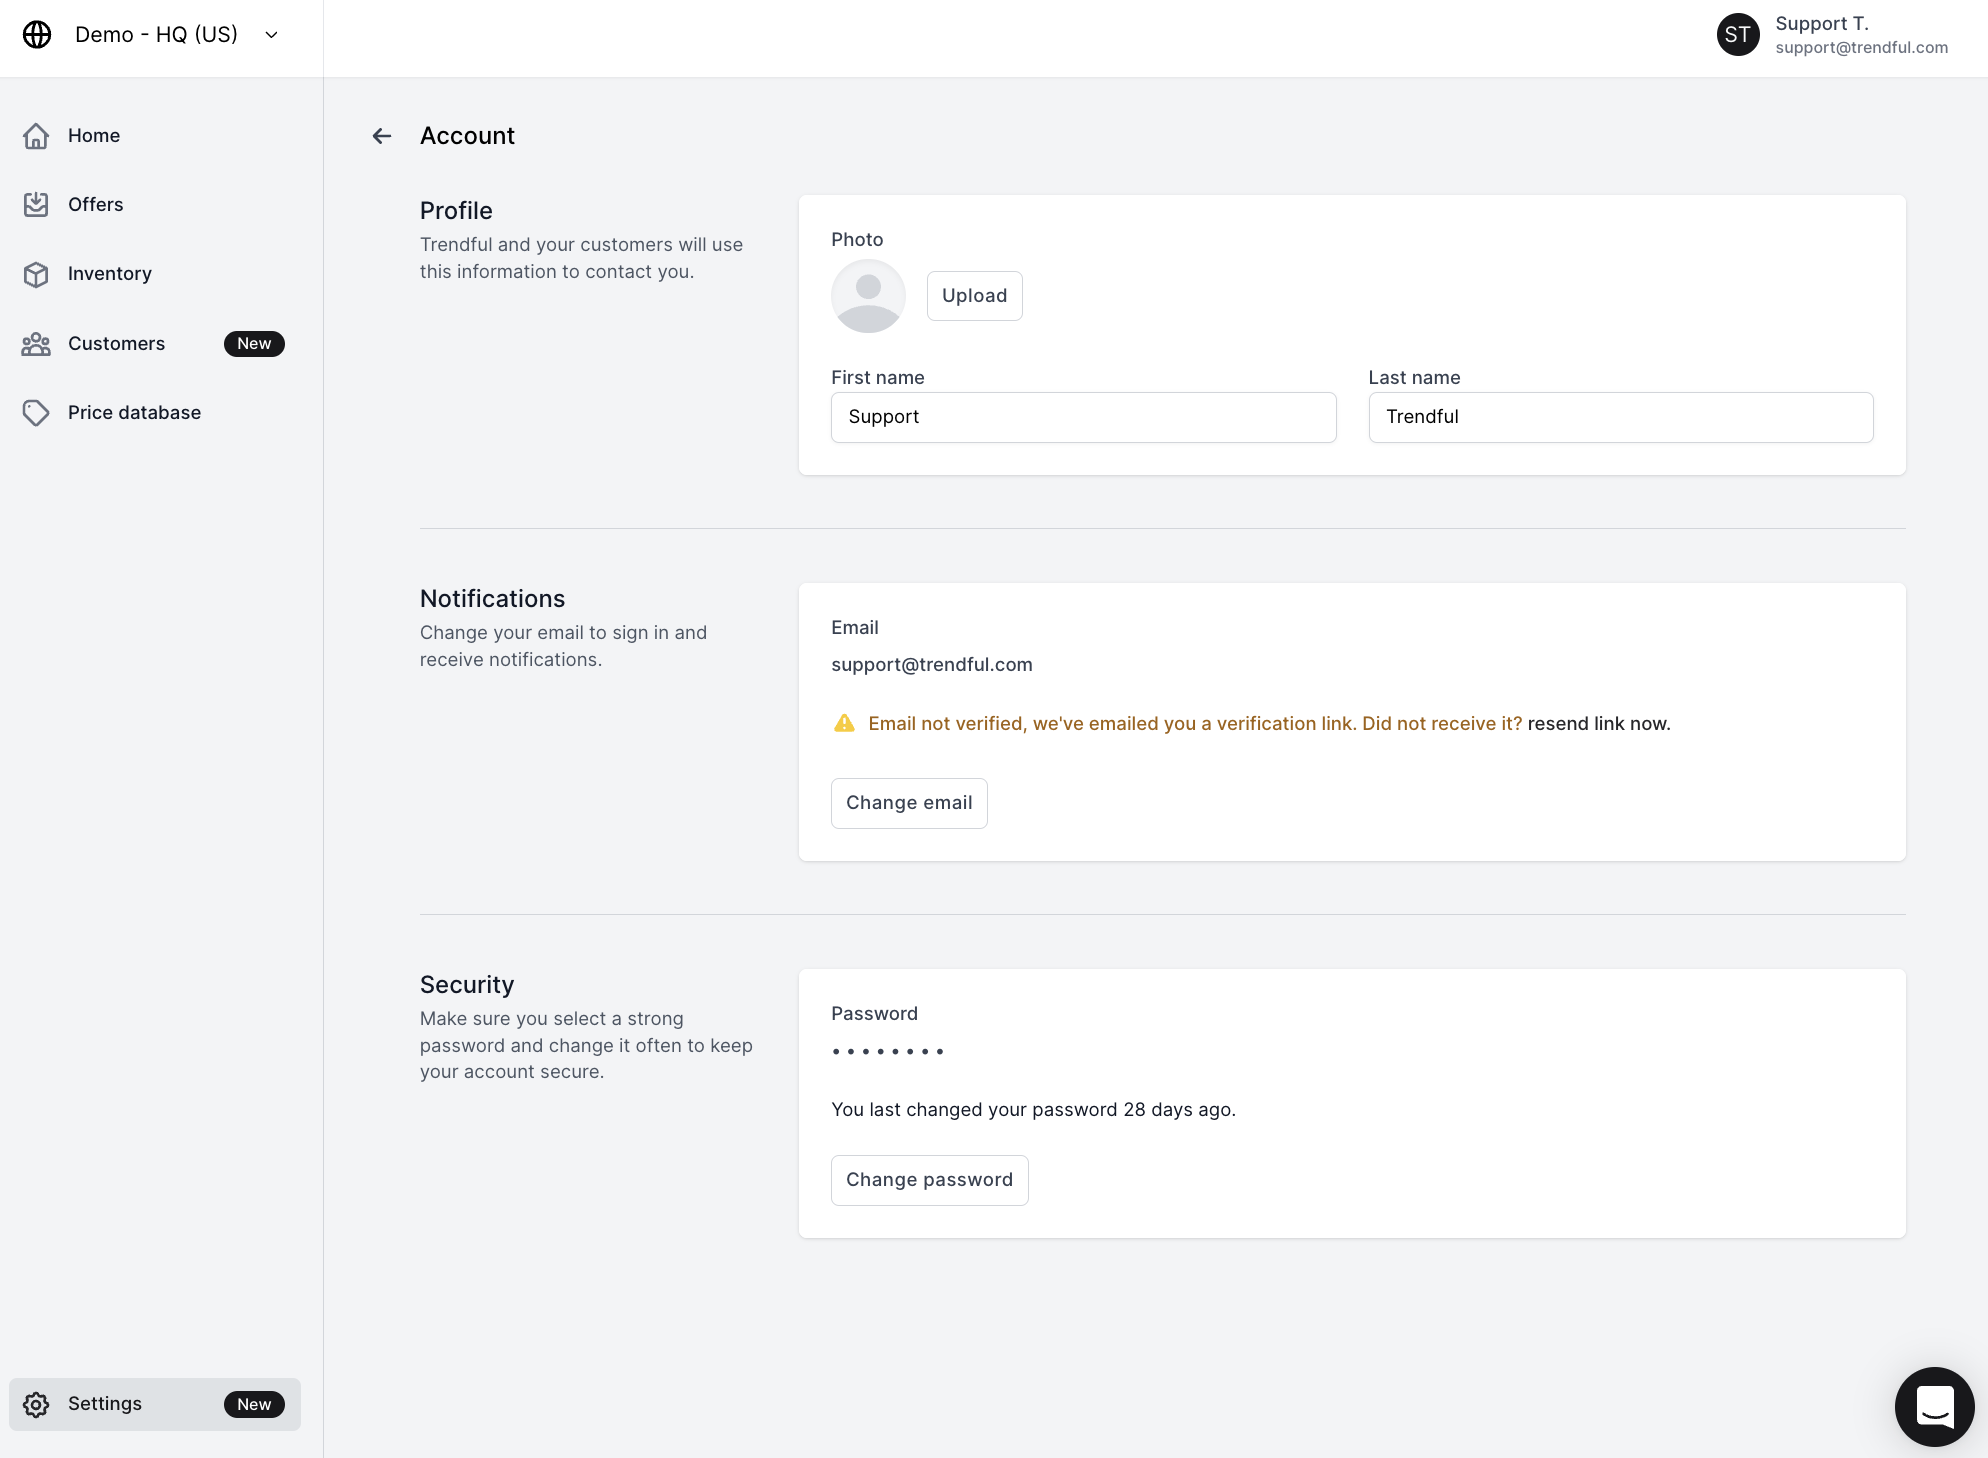 The first thing you should do is add your “First name” and “Last name”. If you plan on using Trendful Payouts, make sure to add your first and last name - we need your first and last name in order for your bank account to be securely added via Plaid (the service provider we use to securely verify and authenticate financial information)
In your Profile you can also upload a picture of yourself, change your email address and password.
Invite your team members
The next area you should set up is inviting any team members to your account.
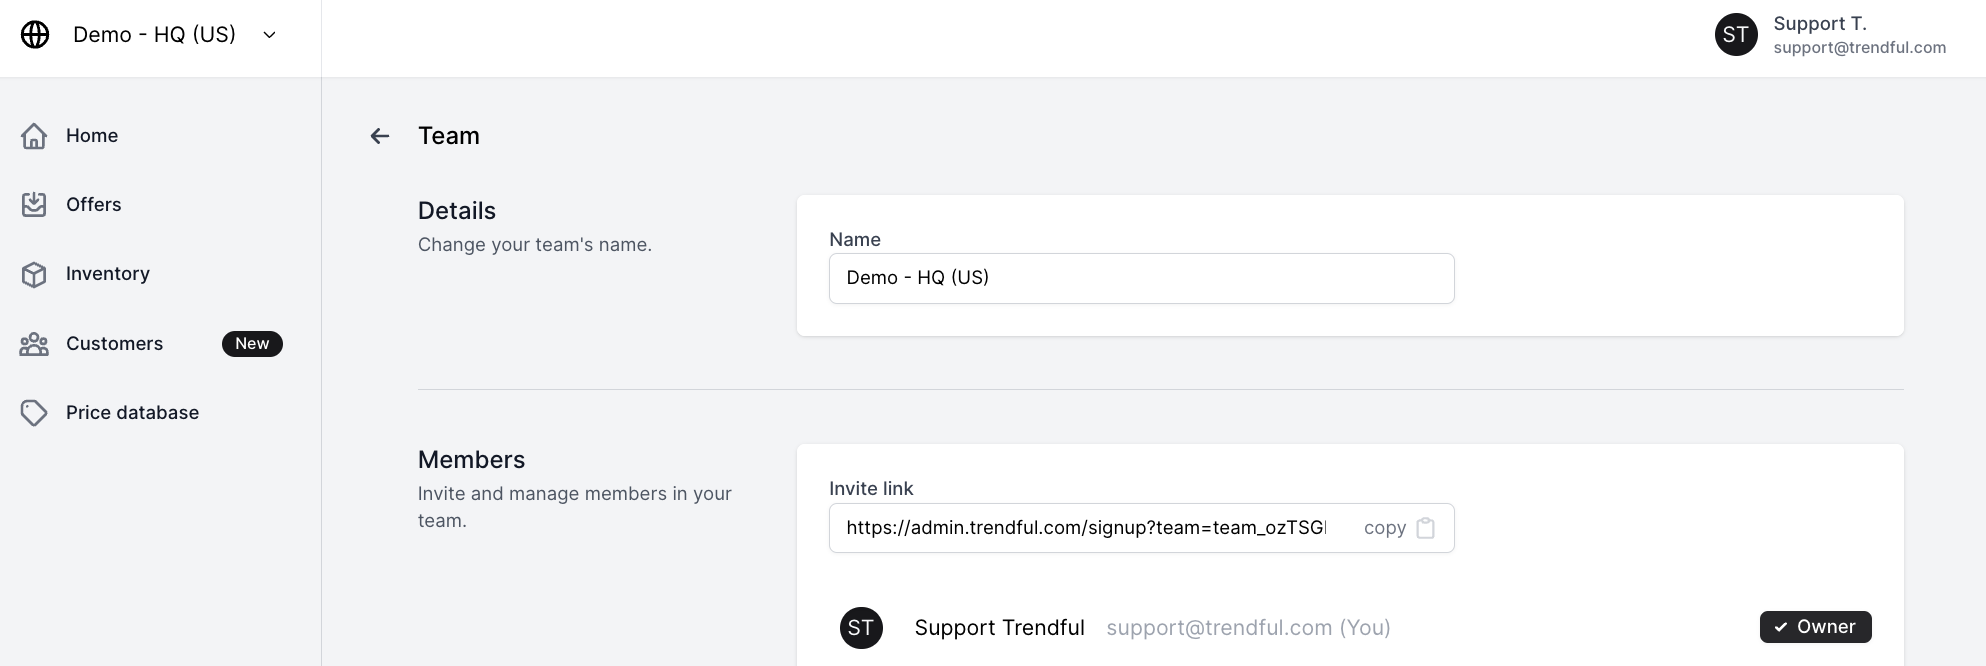 Here you can change or adjust your team’s name. You can also copy the invite link and send it to the people that you would like to add to your team.
In your Team section you can see that you are the owner of our admin account and anyone that you invite you can choose to remain just a member of your team or you can make them an owner.
You can also remove members from your team at anytime.
All members that you add to your admin account will be able to access your offers, customers, and price database. However, only owners can access your “Billing” section.
Add your billing information
Another key section to set up in your “Settings” is your billing information. One of the first things you can do is add and or change your credit card on file with us. Once you add a card you can choose to make it your default card.
We typically charge your default credit card on file with us for your monthly subscription as well as any shipping label costs that you accrue at the end of each month.
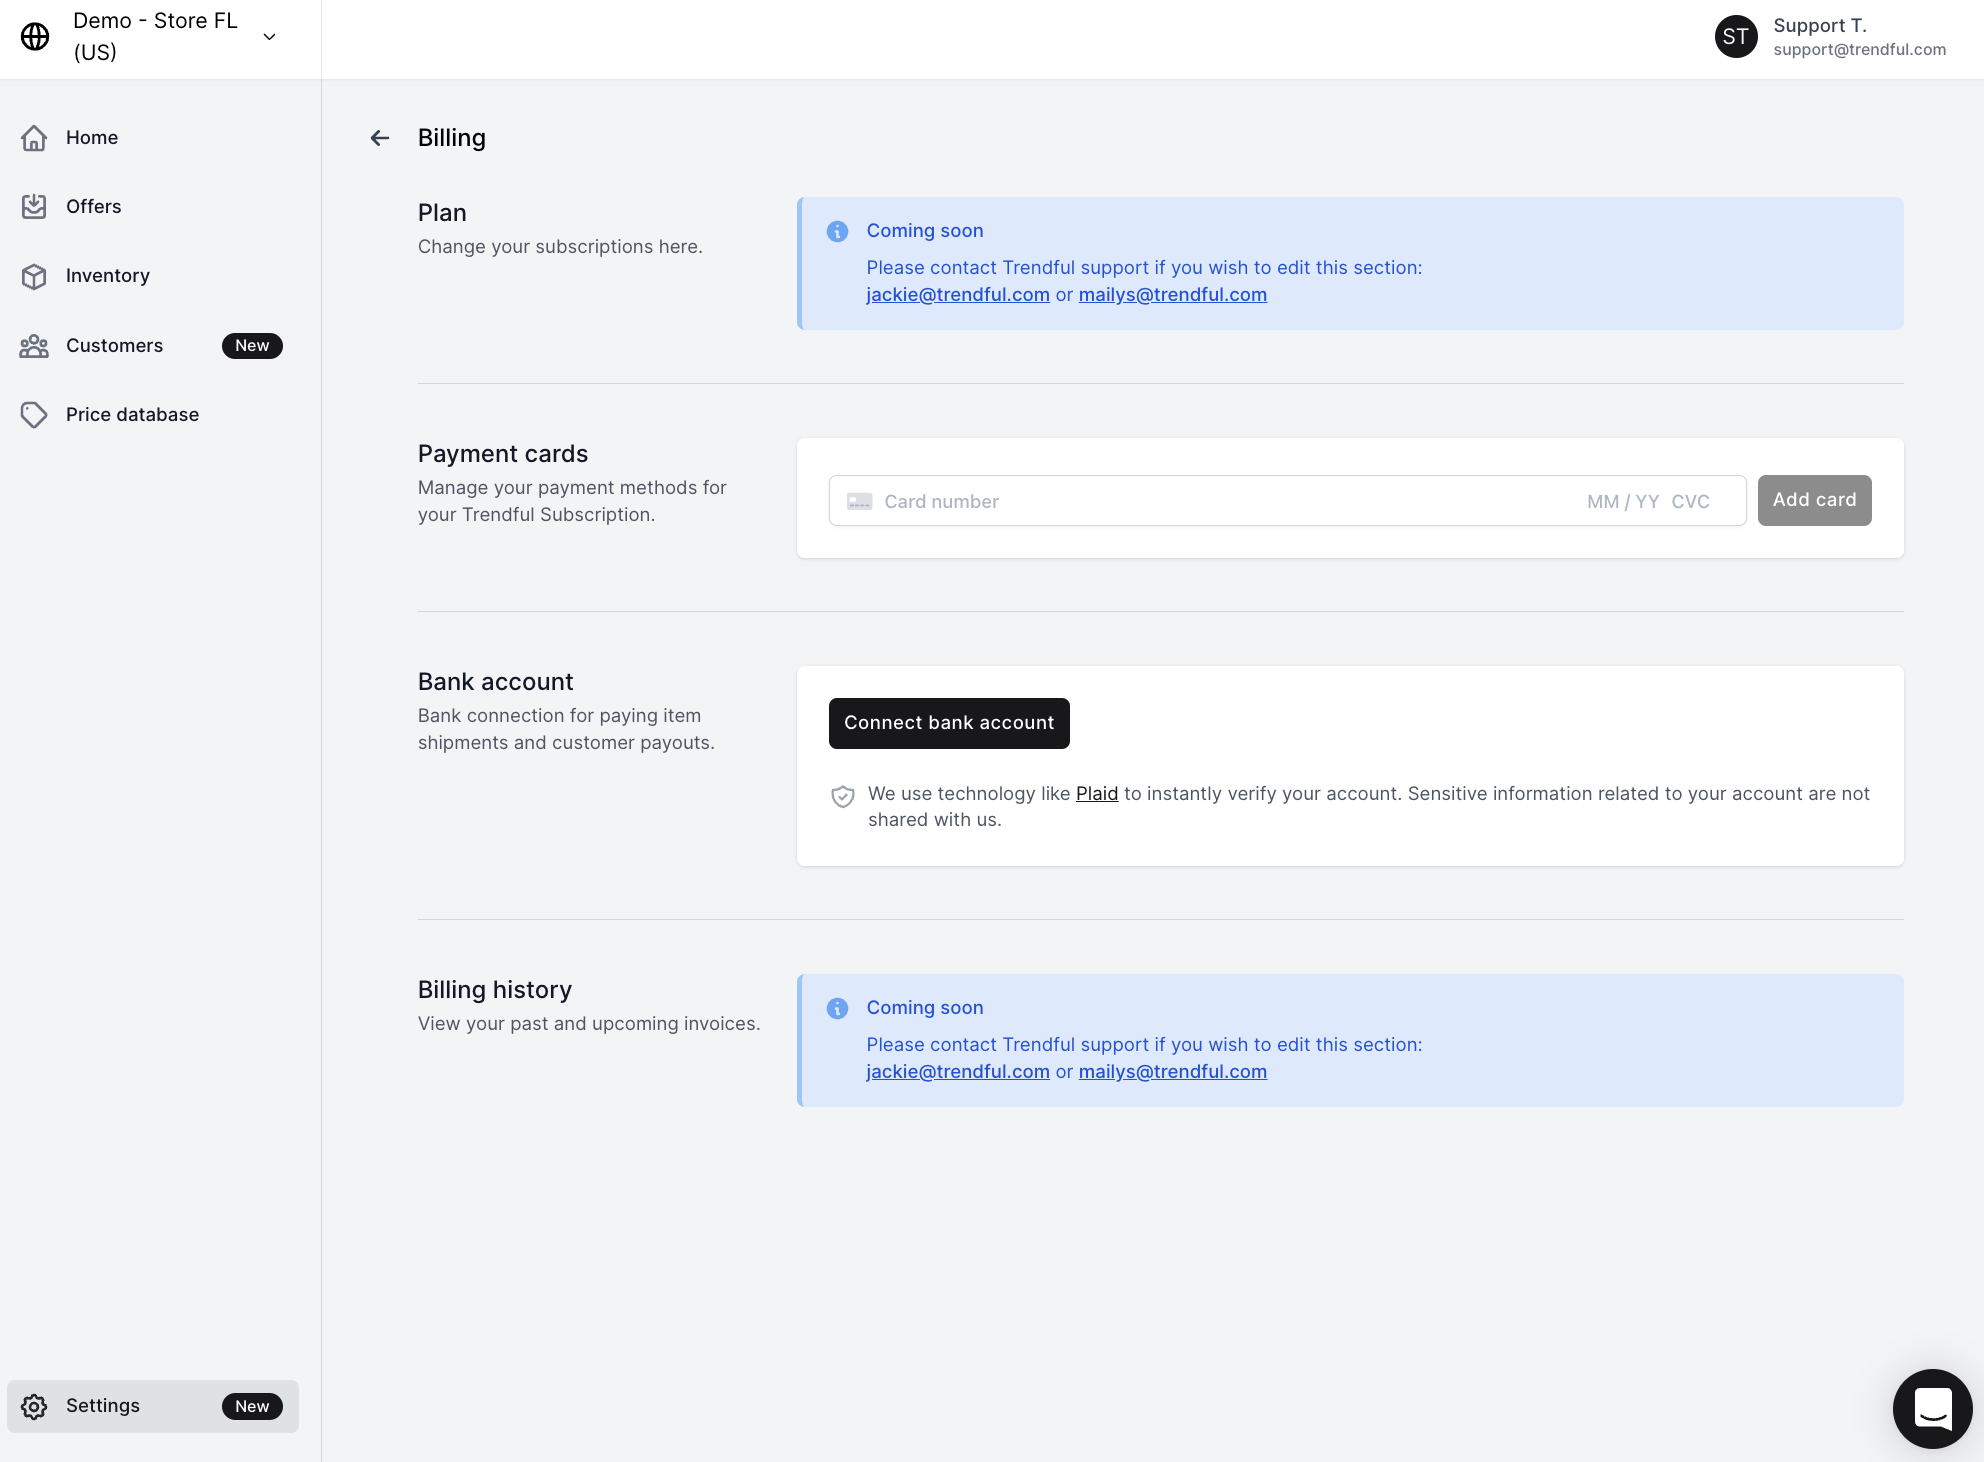 If you plan on using Trendful Payouts to pay your customers then you need to connect your bank account.
Follow these steps:
-
Simply click the button “Connect bank account”.
-
After you click the button you will be prompted by Plaid to securely and instantly connect your account.
*Your sensitive financial information is never shared with us.
If you want to learn more about connect your bank account or sending your first payout then read our Trendful Payouts resource guide.
In the future, in your “Billing” section, you will be able to change your subscription plan as well as view past and upcoming invoices.
Add your shipping address information
Another important task for you to complete in order to set up your admin account is adding your physical shipping address.
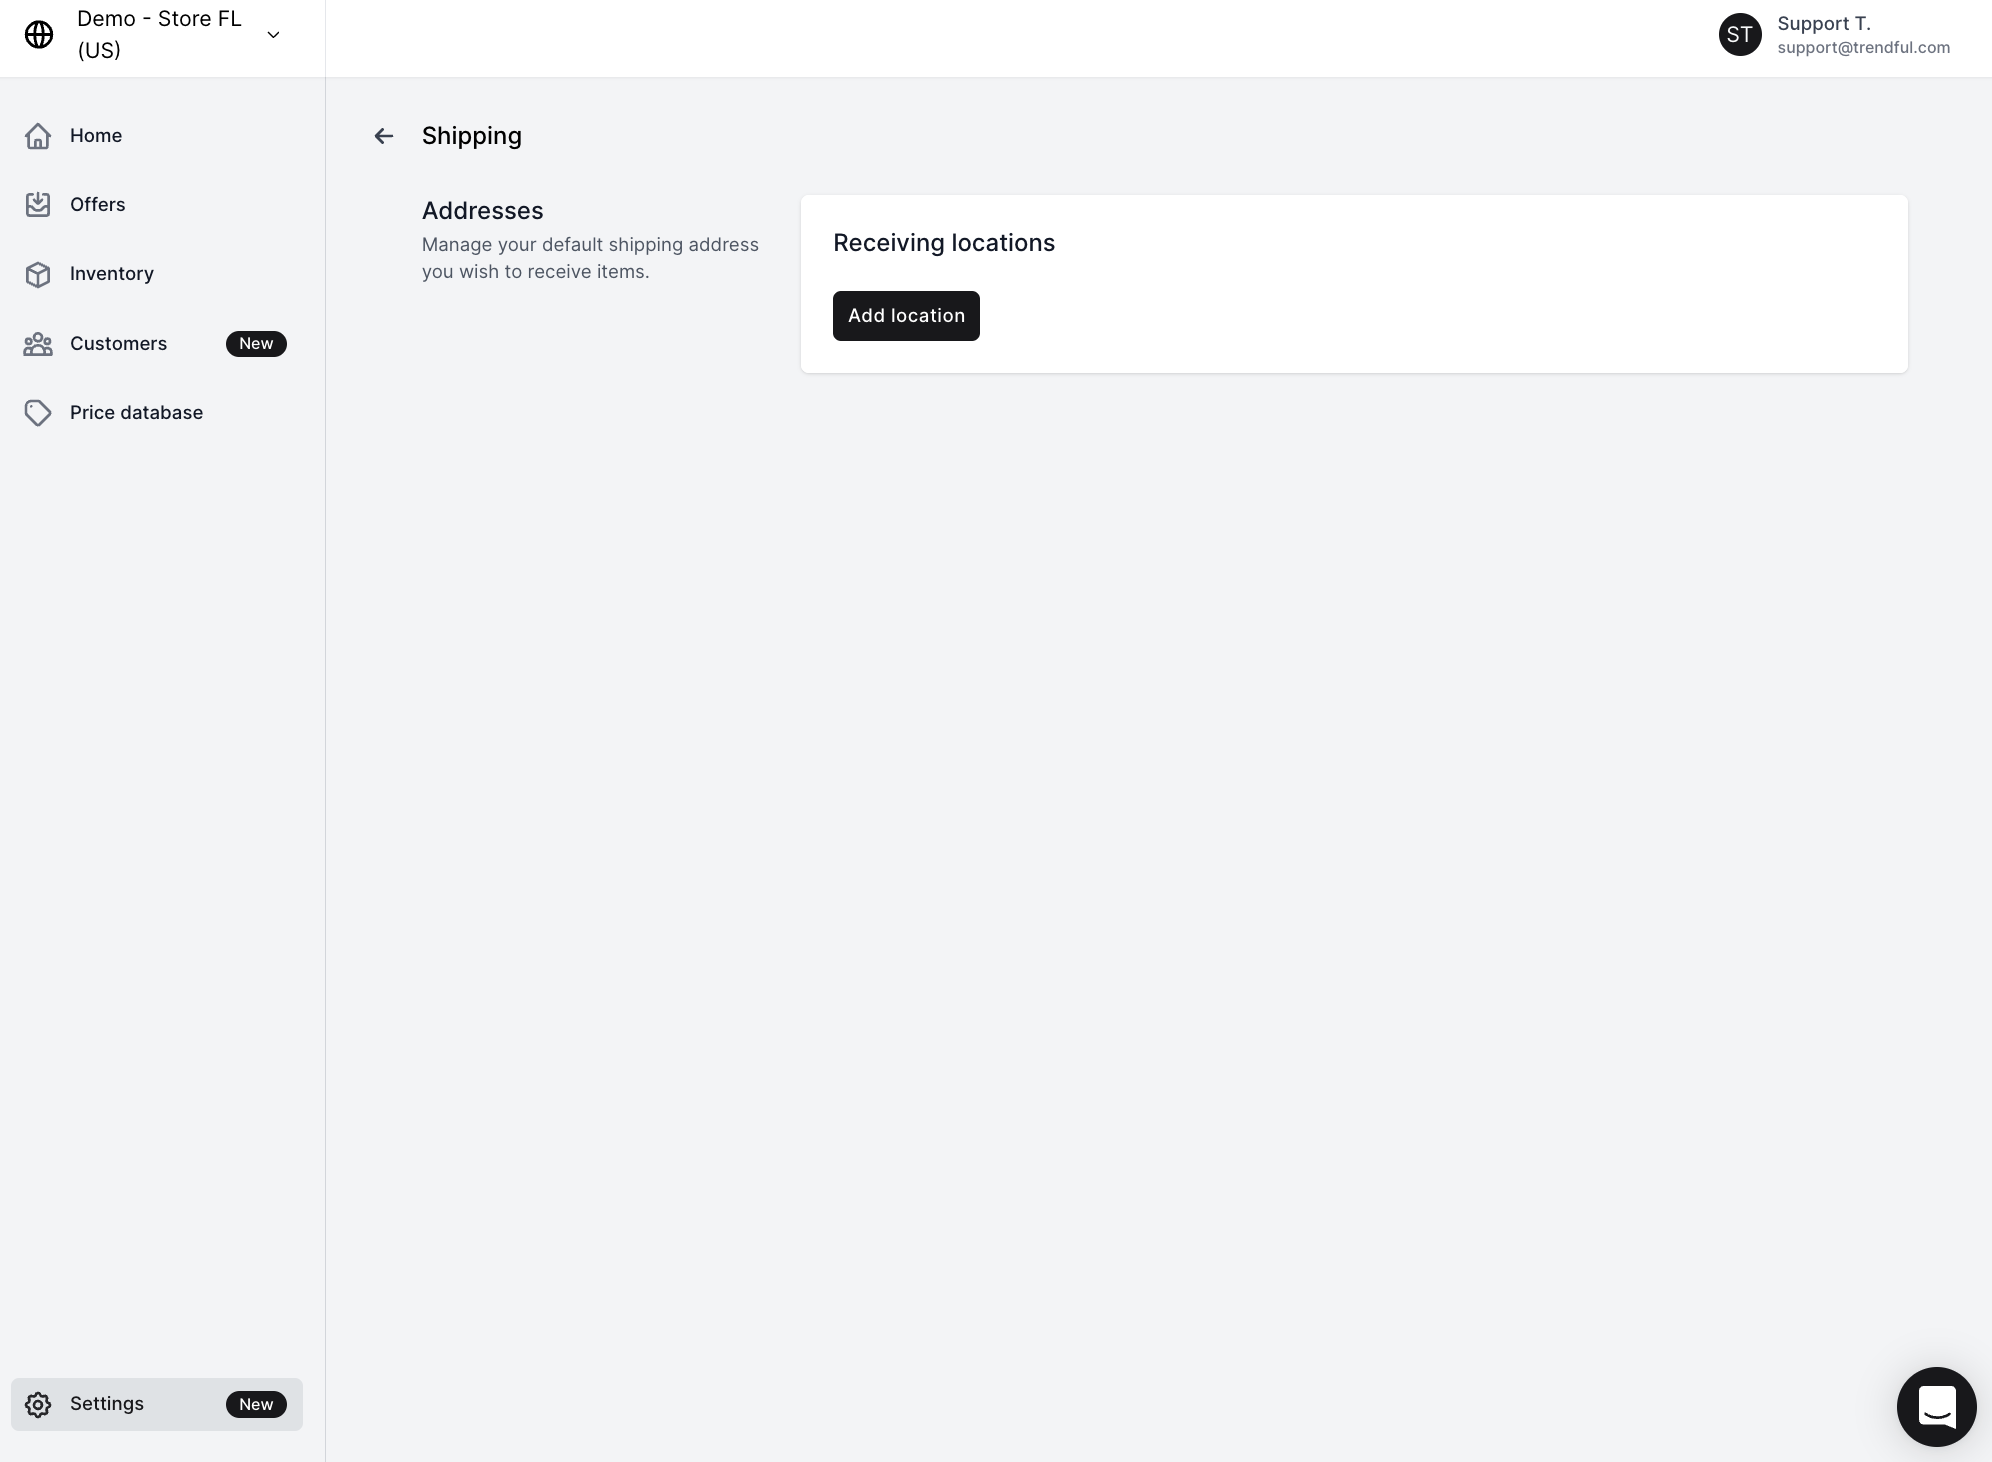 If you plan on generating shipping labels from your Trendful Admin account then you will need to add a receiving location in order to get started.
Follow these steps:
-
Click the button “Add location”.
-
Once you click the button a window will pop up prompting you to add the physical mailing address you would like to receive items at.
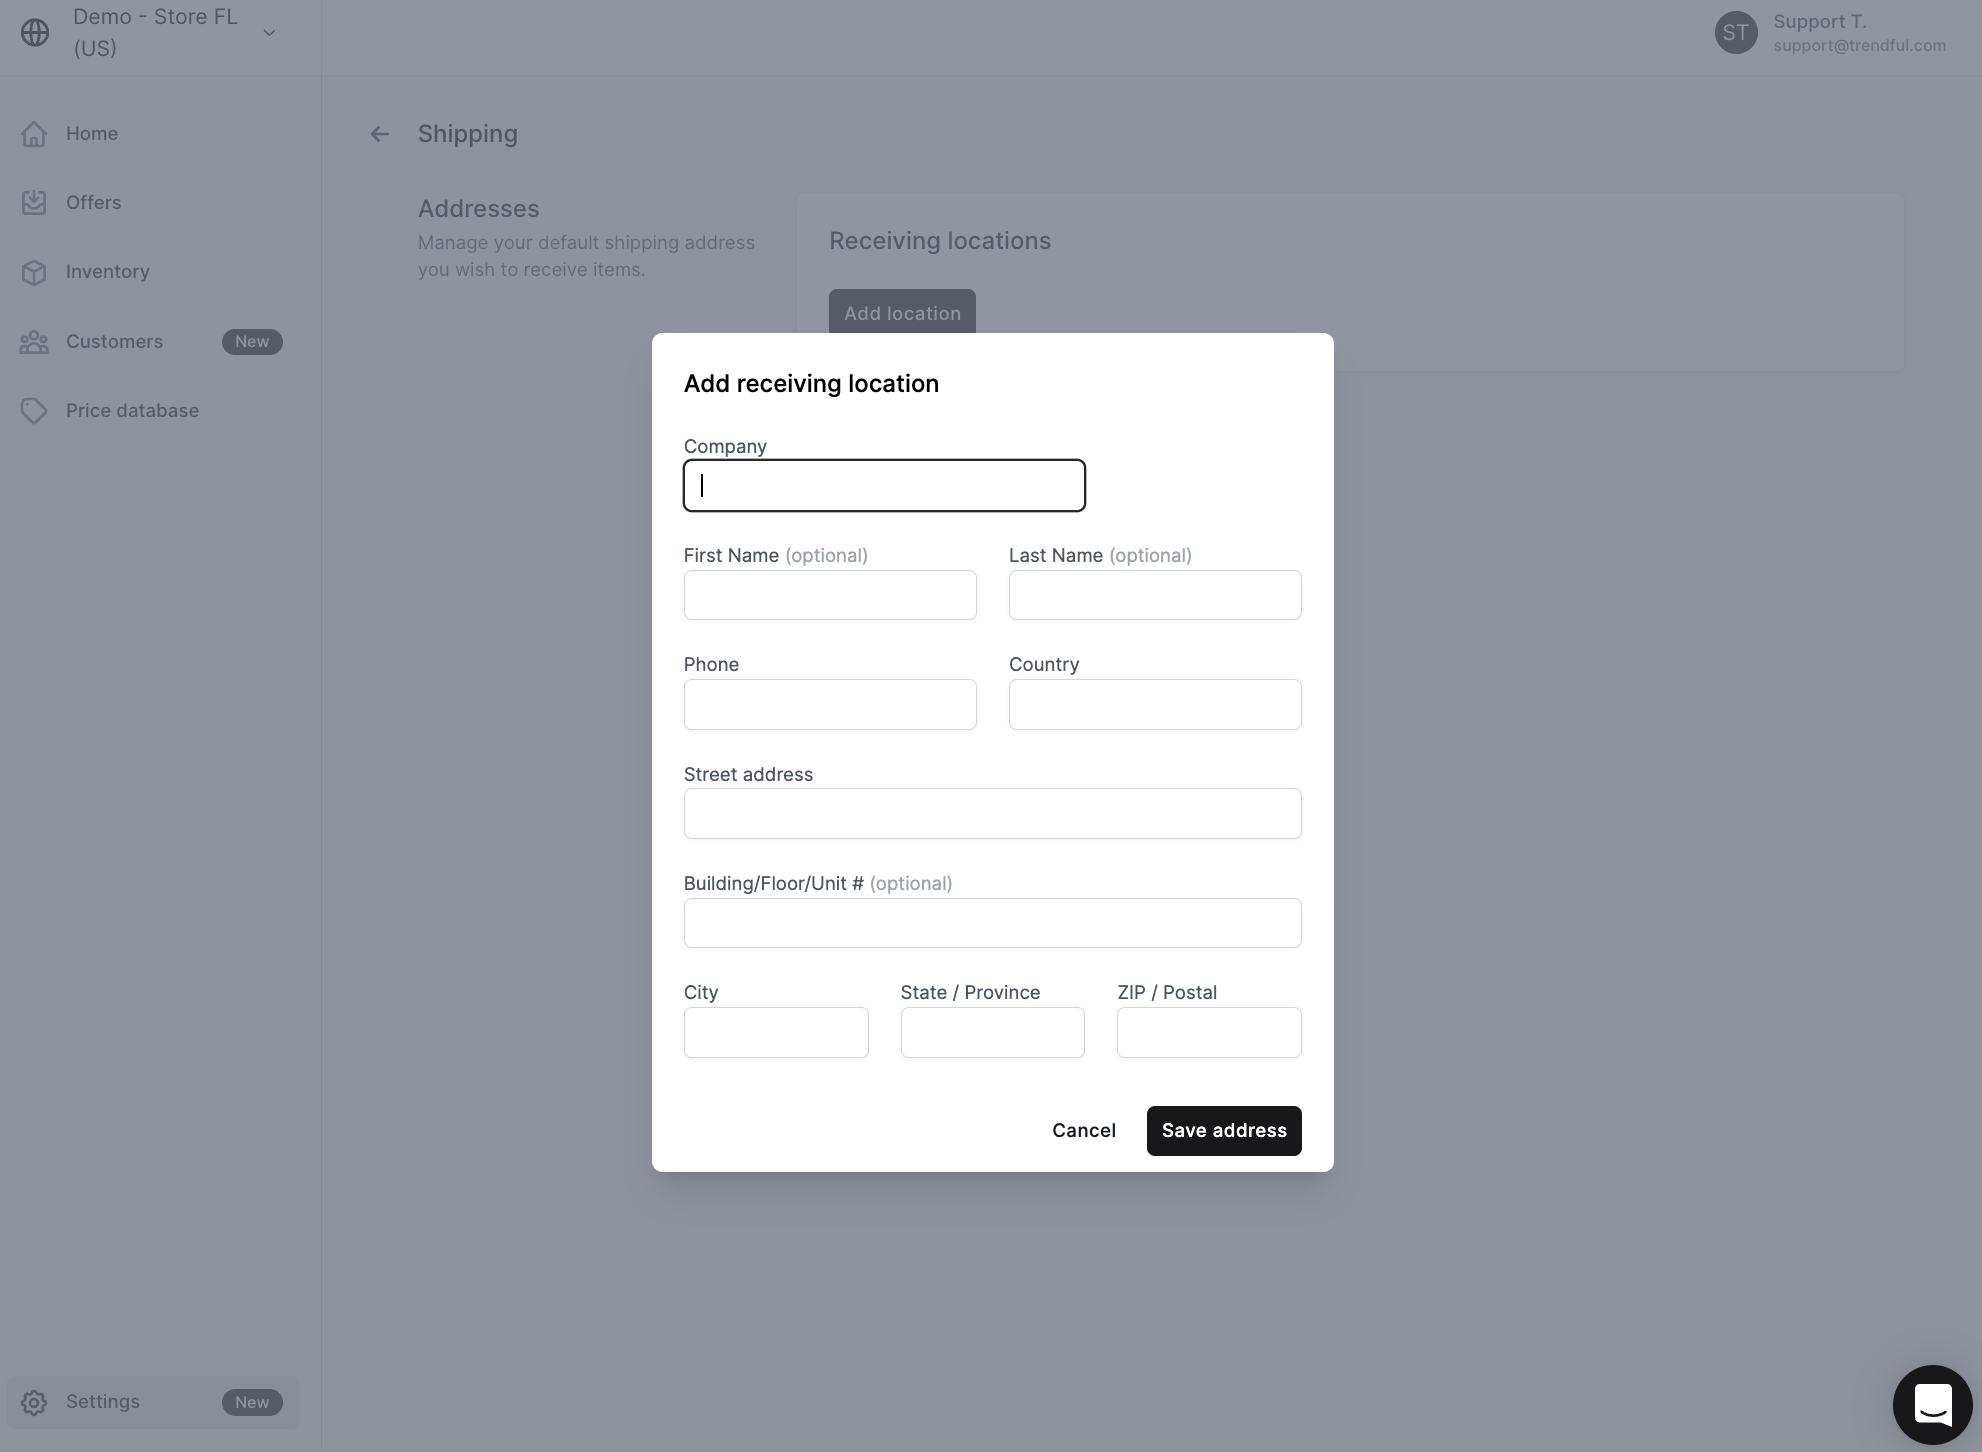 3. Once you have clicked the button “Save address” that will be your default mailing address and you can begin generating shipping labels.
- You can also always add additional shipping address locations.
 If you have any additional questions about setting up your Trendful Admin account, you can always schedule a demo with us here.
Otherwise you can read our Trendful Admin guide, Trendful Payouts guide, and you have access to our FAQs.